Create your first Device class#
This How-to explains how to create your first Device class regardless of the language used.
Prerequisite: This how-to assumes that you have a Tango installed.
Start Pogo code generator: Now you can create a new class:
Click on
 and then New.
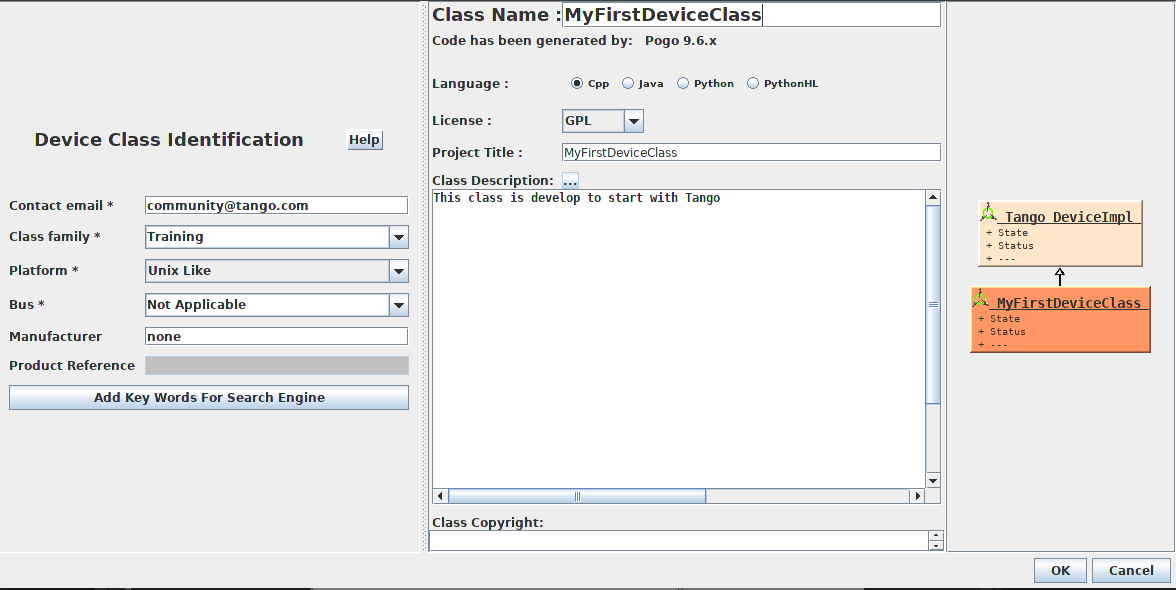
Add the following required information for your class:
The Device Class identification information (shown in the left panel below)
The class name, language and description (shown in the right panel below)
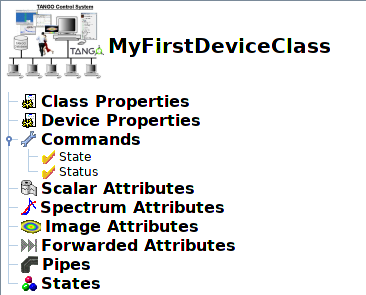
Once completed, you will see an empty Pogo interface:
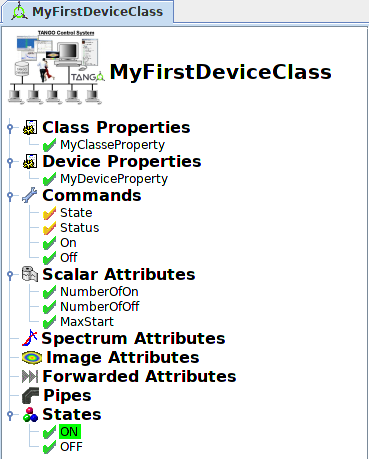
You can add Properties, Commands and Attributes by double-clicking on each one. Below is an example after having defined some of these:
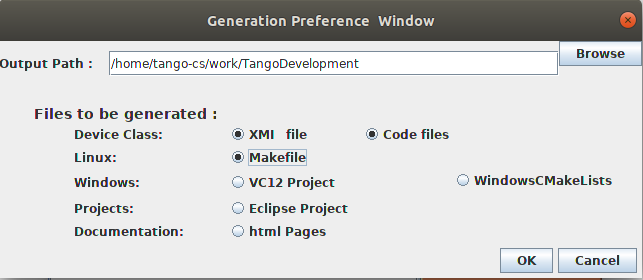
Generate your files from File -> Generate and press OK in the window.
Choose your output path and the files you want to create. For example, on linux OS in C++, the minimum set of files that need to be created are: an XMI file, Code files and a Makefile. See the example below:
You will now see the Pogo generated files in your folder:

Pogo has creates skeleton files with your Properties, Commands and Attributes.
Next you will need to develop your device. Information on how to do this can be found in the language specific how-to sections: C++, Java or Python
Finally, to compile and run your class see the section on how to start a device server.